To customize your 25Live Dashboard, you can:
1. Rearrange the elements on your Dashboard. Place your mouse over the header of an element until the mouse pointer turns into a 4-way arrow (not visible in the picture below). Then click on the header of an element and drag it to any other location on your Dashboard. Places available to drop this element will be highlighted in green. Release the mouse button to drop the element in the desired location.
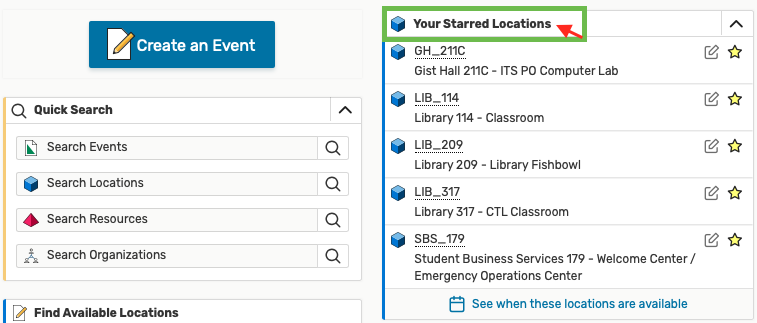
2. Hide unused elements from your Dashboard. Click on the Customize Dashboard link in the bottom right corner of the window. The grey area at the top of the Dashboard into which you can drag unused items will appear. Place your mouse over the header of an element until the mouse pointer turns into a 4-way arrow (not visible in the picture below). Then click on the header of an element and drag it to the grey area to remove it from your daily view. Places available to drop this element will be highlighted in green. Release the mouse button to drop the element in the desired location.

3. Close unused elements. Select the up arrow button in the upper right corner of an element that you no longer wish to see (but do not want to hide it entirely as shown in the previous bullet).

4. Open previously closed elements. If you wish to see the contents of a previously closed element, just click on the plus icon on the right side of the element.

5. "Star" items to quickly access them directly from your Dashboard. "Starring" in 25Live works just making favorites in other applications. Click on the white star next to an item you want to make your favorite. Once the star color is changed to yellow, the newly "starred" item will appear on your Dashboard. To "un-starr" an item, simply click on the yellow star and turn it back to white. "Starring" and "Unstarring" can take place in a variety of places in 25Live. Below are some examples:
- "Star" Events:
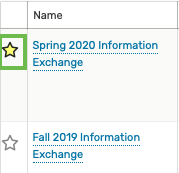
- "Star" Event Searches when you save them

- "Star" Locations:
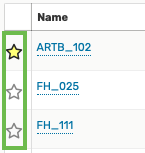
- "Star" Location Searches as you save them:

- "Star" Reports:
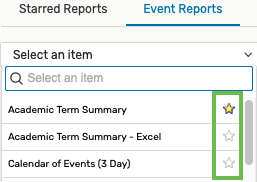
- Similarly, you can also "star" organizations, event types, contacts, and resources.
6. Find a room in the Availbility view. Peruse various types of rooms on a date of your choice in the Availability view. Click on the More button in the upper right corner of the 25Live window,

then select the Availability link:
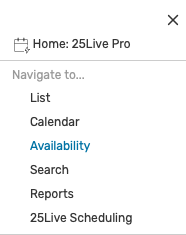
Select a group of rooms of interest to you and adjust the date by clicking directly on it. Look for an available space in the columns corresponding with your event time.
PRO-TIP: You can also see details of each room by mousing over its name in the left hand column.

PRO-TIP: If you manage rooms of your own, you can also see how well they are utilized by selecting the Utilization EHC/CAP (Expected Head Count vs Room Capacity) option from the View drop-down menu. The events in the grid below will change colors from regular green to various shades of blue (or red) and include utilization %.

8. See the Calendar of upcoming events of your choice. Click on the More button in the upper right corner of the 25Live window,

then select the Calendar link:
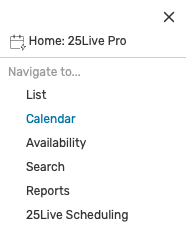
Select the group of rooms of interest to you, adjust the date range by clicking directly on it, and pick how many weeks you want to see at a time using the Weeks drop-down menu. The events shown in the calendar below should adjust every time you change your viewing parameters. For the latest updates, select the Refresh icon.
